I had
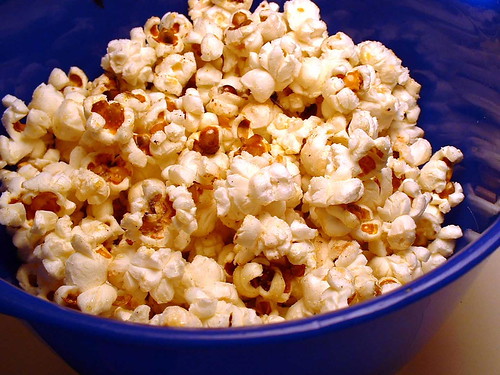
kettle corn for the first time earlier this year. Yes, you heard that right... Up until a few months ago, I didn't know what it was, and had no idea how it was different from regular buttered popcorn. I assure you, I'm appropriately ashamed. A coworker had brought in three different kinds of microwave popcorn for a program she was doing, and one of these was a microwave kettle corn made with Splenda. Even with the artificial sweetener, I really liked it. And when I finally had the real stuff a couple of months later... I was hooked.
The problem is, what do you do for it when you're not at a fair or similar event? I'm sure you can buy it in bags somewhere, but I have this thing about bagged popcorn ever since my dad chipped a tooth on bagged popcorn on two separate occasions. All righty, this means I have to make my own.
A quick aside here. If you're a snack junkie like me, go get yourself a supply of popcorn--not microwave popcorn, but the real deal. A 2 lb bag has between 30-40 servings, and will cost about the same as what you'd pay for a large bag of potato chips. It's a whole grain food, is naturally pretty healthy unless you're absolutely drowning it in butter and salt... and it explodes on purpose, so there's a nice "violent fun" factor.
I looked on the internet for kettle corn recipes, and they all said the same thing. "Add the sugar to the pan before the popcorn starts popping, and just shake and cross your fingers." Riiiight...I tried this approach, and ended up with burnt, scorched caramel corn. Just barely edible, and
definitely not what I was thinking of as kettle corn.
So, here's my approach. It may be a bit inauthentic, but it turns out a VERY tasty end result without any worries about setting off a smoke detector.
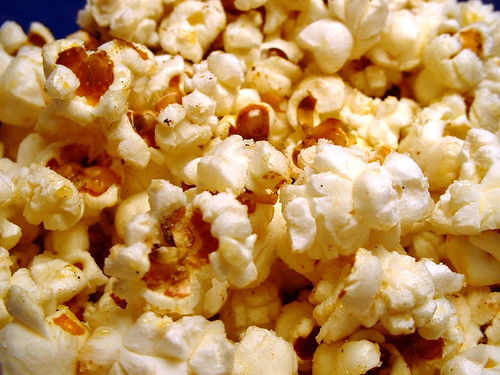
2 tablespoons vegetable or canola oil
1/4 cup of unpopped popcorn
1-3 tablespoons sugar
Salt to taste
Heat the oil in a large nonstick skillet (one that has a lid) over medium high heat. Add three kernels of popcorn, cover, and wait for all three to pop--this will let you know when your pan is hot enough. Once those three kernels have popped, add the rest of the popcorn and cover the pan. Once you start to hear popping, begin shaking the pan every 10-20 seconds. When the popping slows down, peek in the pan to see how much is still unpopped. If there are still a large number of unpopped kernels, continue cooking.
Once you have almost no unpopped kernels left, turn off the heat, uncover, and
immediately sprinkle sugar over the top. If you want just a bit of sweetness, go for 1 tablespoon of sugar. If you want it to be caramel-corn-sweet, use three. The residual heat in the pan and in the popcorn will be enough to just barely melt the sugar, so it will adhere to the popcorn without being sticky. Stir the popcorn to evenly distribute the sugar, add salt, and enjoy.
Makes 2 cups of popped popcorn, enough for one serving. For more than one serving, you won't need to proportionally increase the oil. Another tablespoon per 1/4 cup of popcorn would be more than enough.
