I've been looking for an excuse to make these since she posted the recipe back in 2006. I don't bake sweet stuff for myself very often, and we have so many birthdays at work that I almost feel guilty bringing in sweets on other days. I forgot about the recipe when I was doing last year's swap, but I remembered this year!
The nice thing about online recipes is that they frequently have a place where people can leave comments. You can tell pretty quickly which comments can be ignored ("I changed most of the ingredients and it didn't turn out right, so this is a bad recipe" is always a favorite) and which ones should be taken to heart. On this recipe, there were several comments about the dough being crumbly and difficult to work with, as well as comments saying that dipping the cookies in the melted chocolate leaves a chocolate layer that's too thick.
Crumbly, persnickety dough. That means that using cookie cutters is going to be a HUGE pain, so I changed the baking method just a bit. The recipe says to roll out the dough to 1/8" thick, cut out shapes, and bake for 10 minutes. Instead, I rolled it out closer to 1/4" thick and used a knife to cut the dough into 1.5" squares. I put them in the oven for 10 minutes per baking sheet, and due to the high butter content, they spread out nicely into 2" slightly rounded squares. I made three batches of the dough so I'd have plenty, and had a nice assembly line going for the mixing. I made one batch, put it in the freezer to chill, used the same bowl for a second batch (no cleaning the bowl necessary, since it's all going to be the same dough anyway), put that batch in the freezer, made the third batch, put that in the freezer, and took out batch #1 to roll out.
Mixing, rolling, and baking took about 2 hours from start to finish: not bad for 9 dozen cookies.
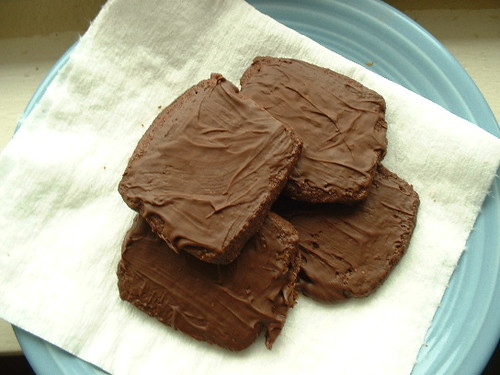
The full batch of cookies cooled overnight, and this morning, I did stage 2: chocolate coating. Instead of dunking each cookie in melted chocolate (which, according to many comments, left far too much chocolate on the cookies), I spread a thin layer of the chocolate on the cookies. It worked well, and had the added benefit of being messy fun. Doing this also allowed me to coat all of my cookies with one 12 oz. bag of semisweet chocolate chips instead of 3 lbs of chocolate--a smidge healthier is always a good thing, and the extra chocolate won't be missed. I got about 4 dozen cookies per batch of dough, and since I only made 9 dozen, I have the leftover dough in the freezer awaiting a chocolate craving attack. :)
The mint flavor in the chocolate is very subtle, and I would definitely add more of the peppermint extract on any future batches. This isn't just because I used less chocolate, because even the chocolate by itself doesn't have that strong mint flavor that the GS Thin Mints have.
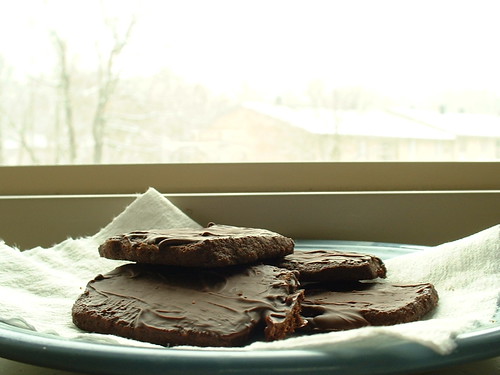
Playing around with chocolate wasn't a bad way to spend the first snowy morning of the winter!


1 comment:
Ooooo - yummy!
Post a Comment